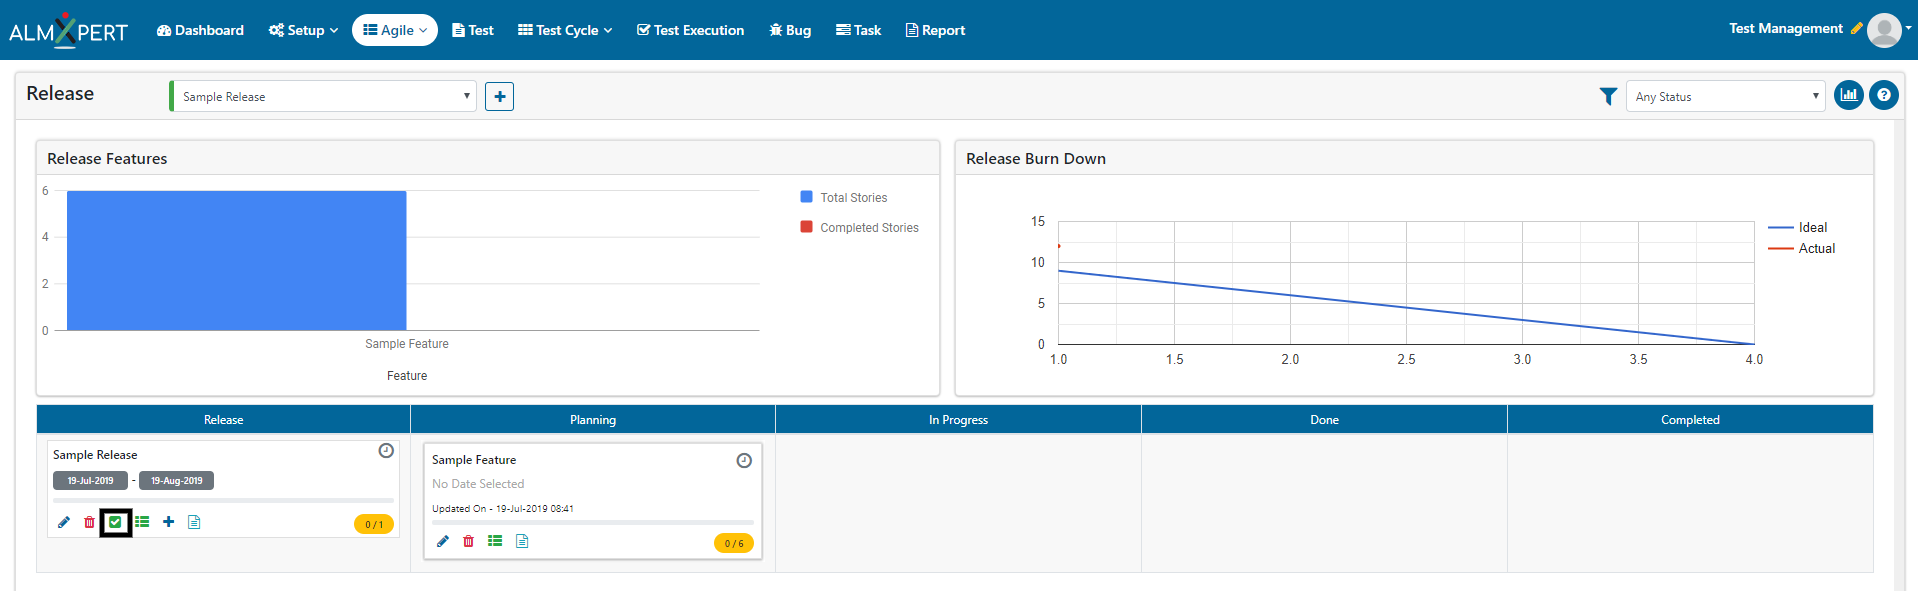
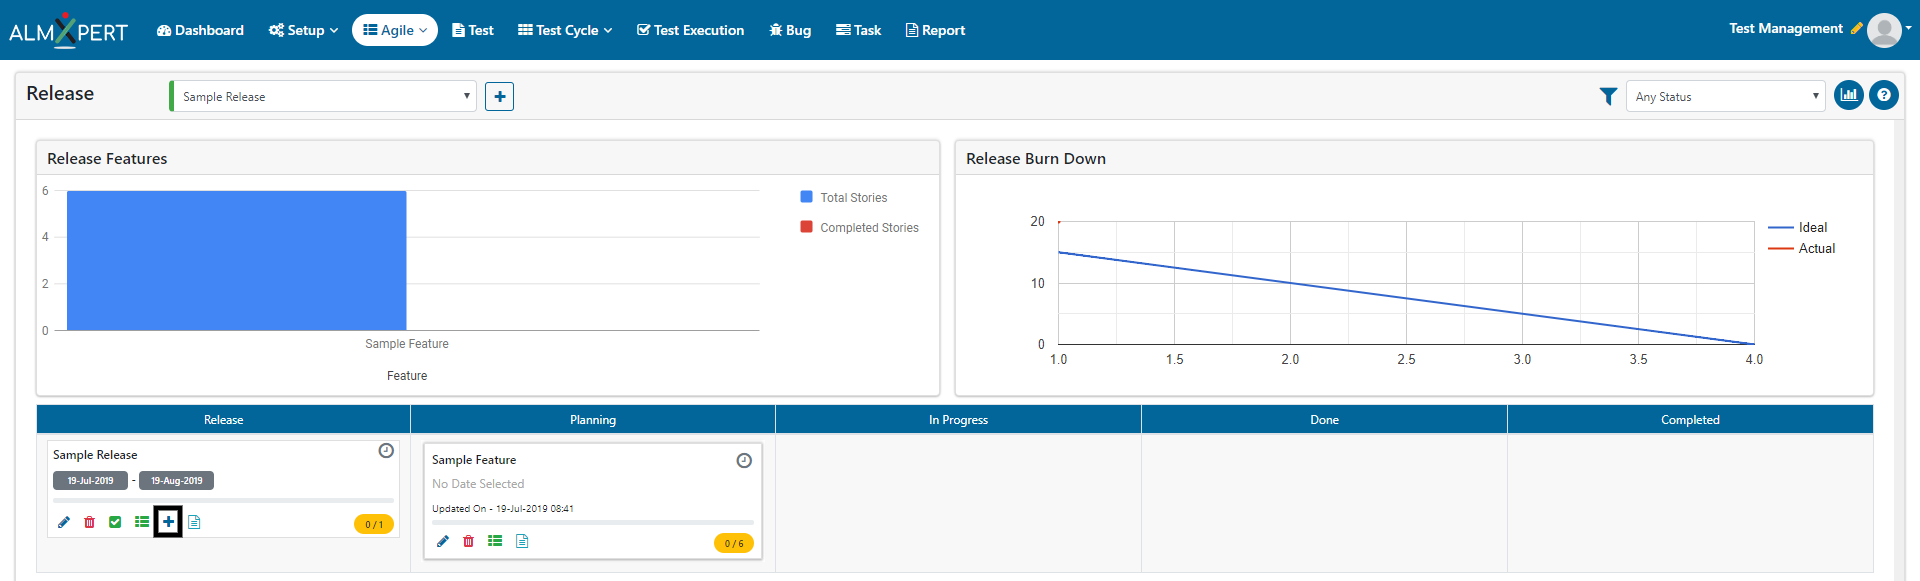
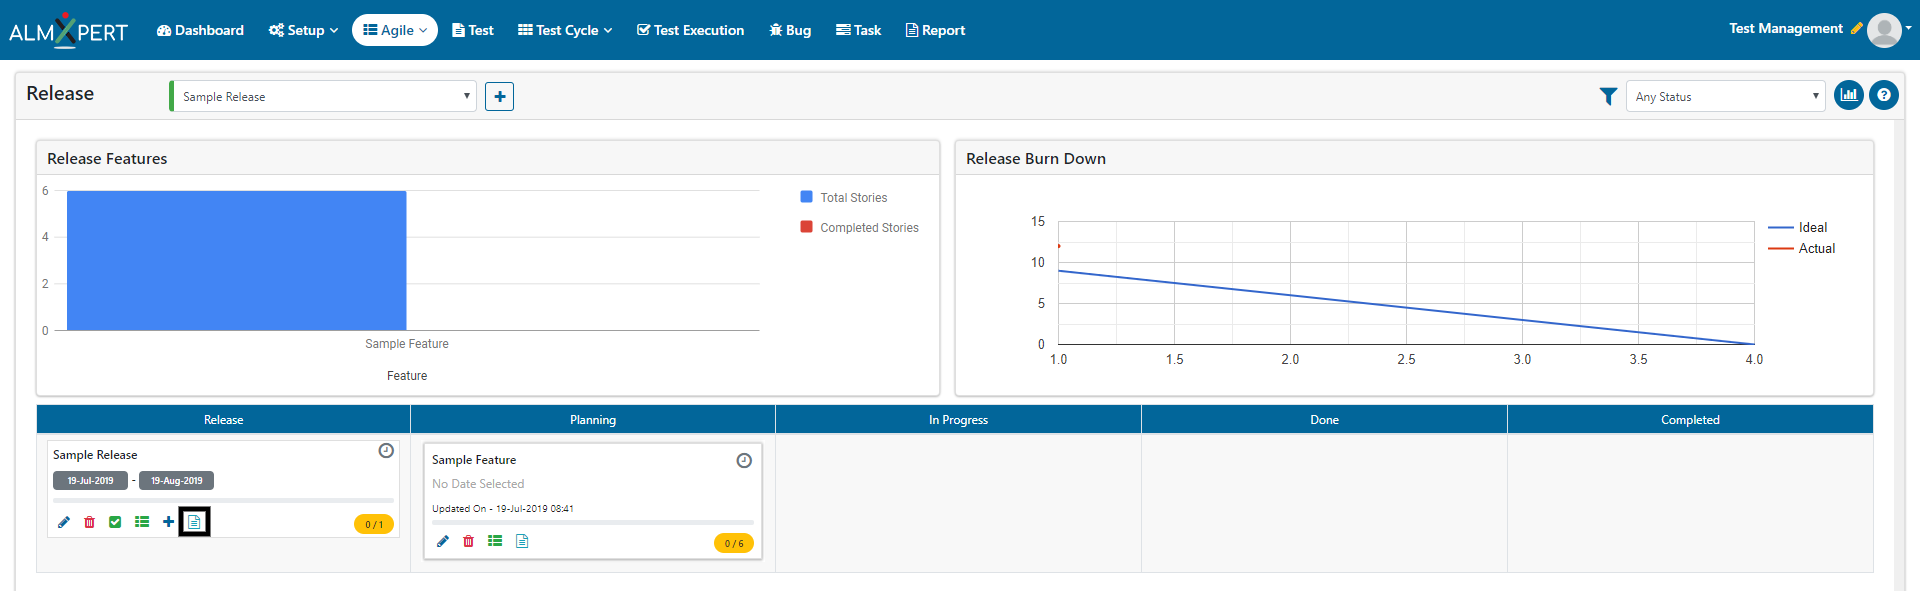
Release Board
Release board is used for Release Planning. User can create releases which contain high level business value generation plan. User can create multiple Features which will be developed for that particular release which can be delivered to the client on timely basis. Release board contains Release Features and Release Burndown Charts as well. These show live data which gets updated automatically. Users can also use filters to view specific data.
Release Board gives users the opportunity to create and edit the releases as well as features.
Please click on Help icon for quick help/FAQs.
Create high-level business value generation plans in the form of releases to decide what features need to be developed at what time so meaningful and profitable value in the project can be delivered to the client on consistent basis.
1. Click on Add Release button to add new Release.

2. Enter Release Name, Release Version (optional), Start Date, End Date, Description (optional) and Attachments (optional).
3. Click on Submit button to save the changes.

1. Click on pencil icon to edit created release.
2. You can change the details of this release and save the changes by clicking Submit button.

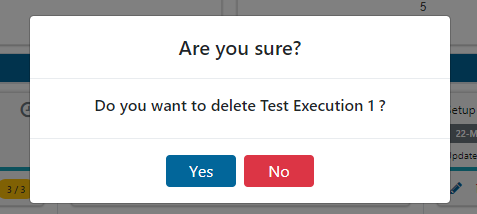
1. Click Delete Release button to delete the selected release.
2. Release can only be deleted when it has no features within it.

2. Now click on Yes button and the release will be deleted.

1. Click on Complete Release button to complete the current release.
2. Complete Release disappears from Release board and Backlog board.
3. Release can only be completed when all the features within it are complete.
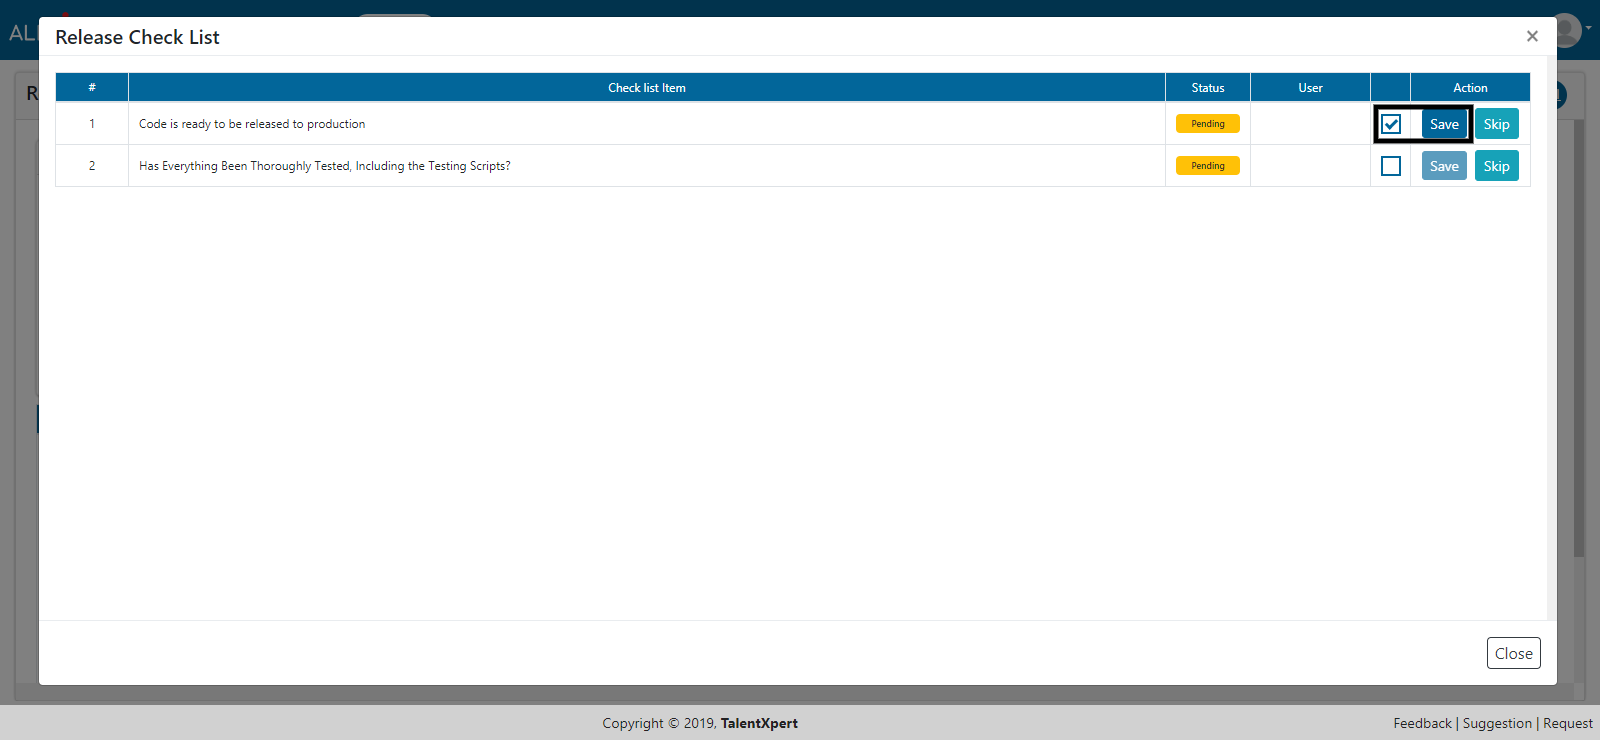
1. Click on Release Checklist button to view the checklist items in Release Check List.

2. Select the desired items from Check List Item and click on ‘Save’ button under Action section. Click on Close button.
3. User can Skip the check list item.
4. Users can add/edit/disable checklist items from Setup -> Lookup -> Release Checklist.
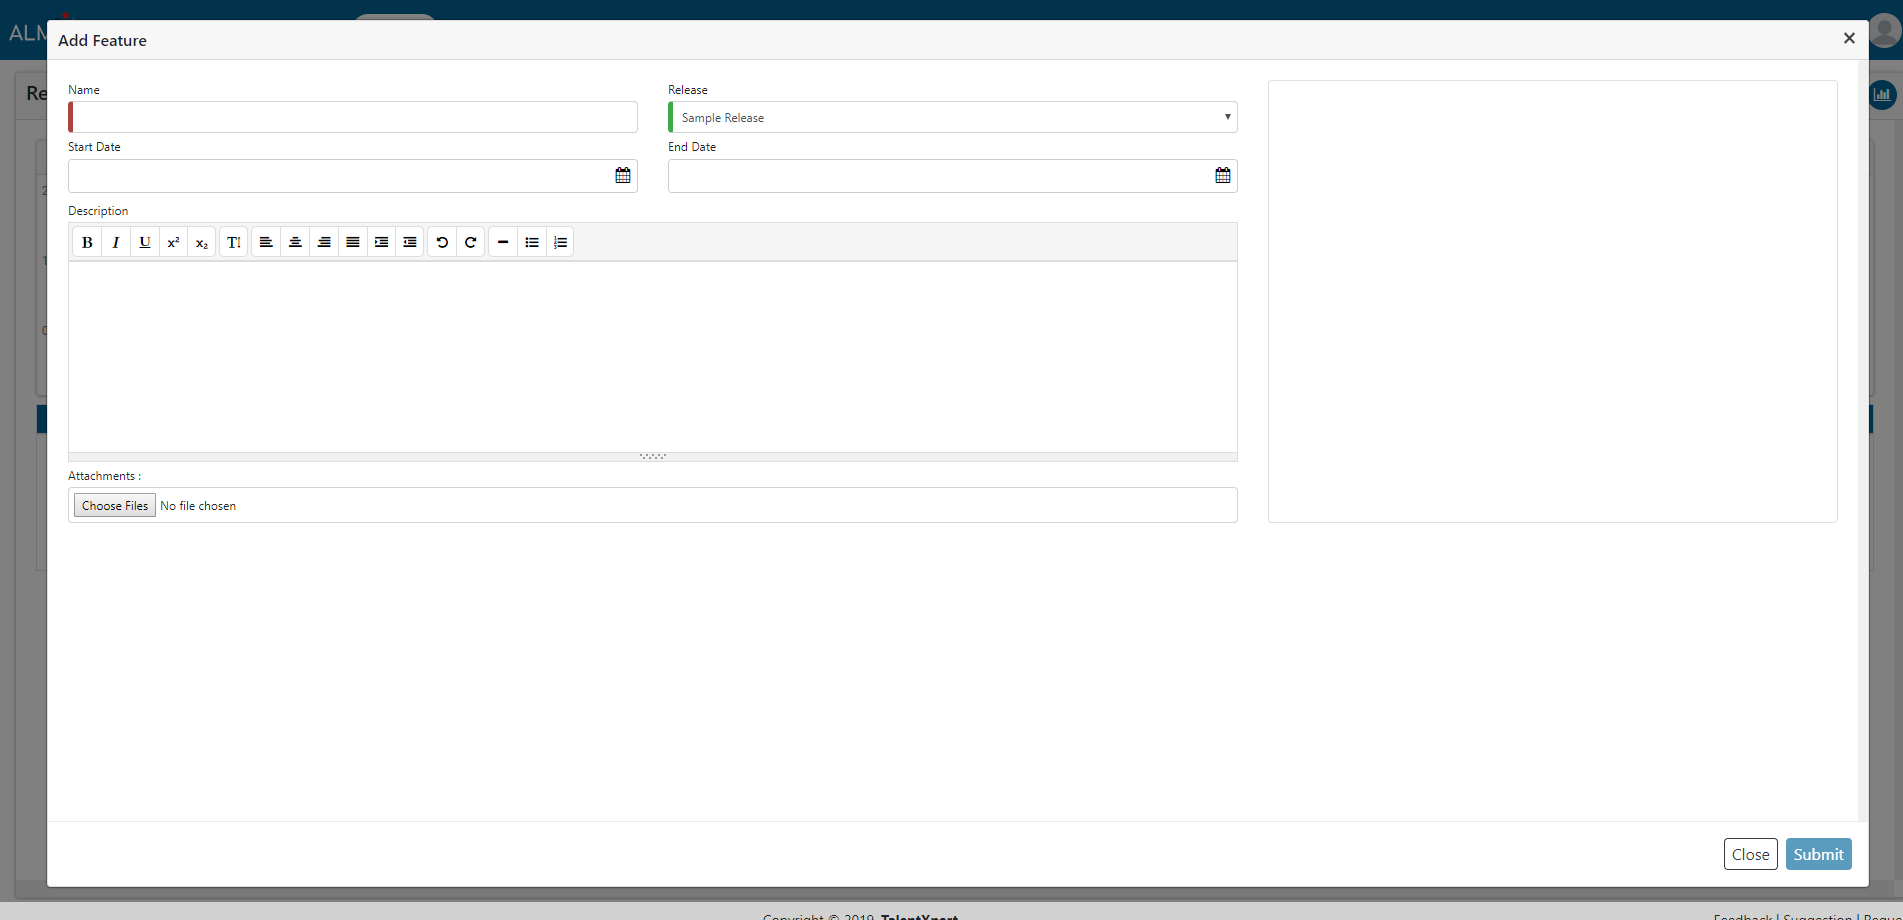
1. Click on ‘Add Feature’ button to add a new feature for release.
2. Give Feature Name and select release name from dropdown.
3. Select Start Date and End Date. Give Description and add attach attachment if required.
4. Click on Submit button and the feature will be saved.
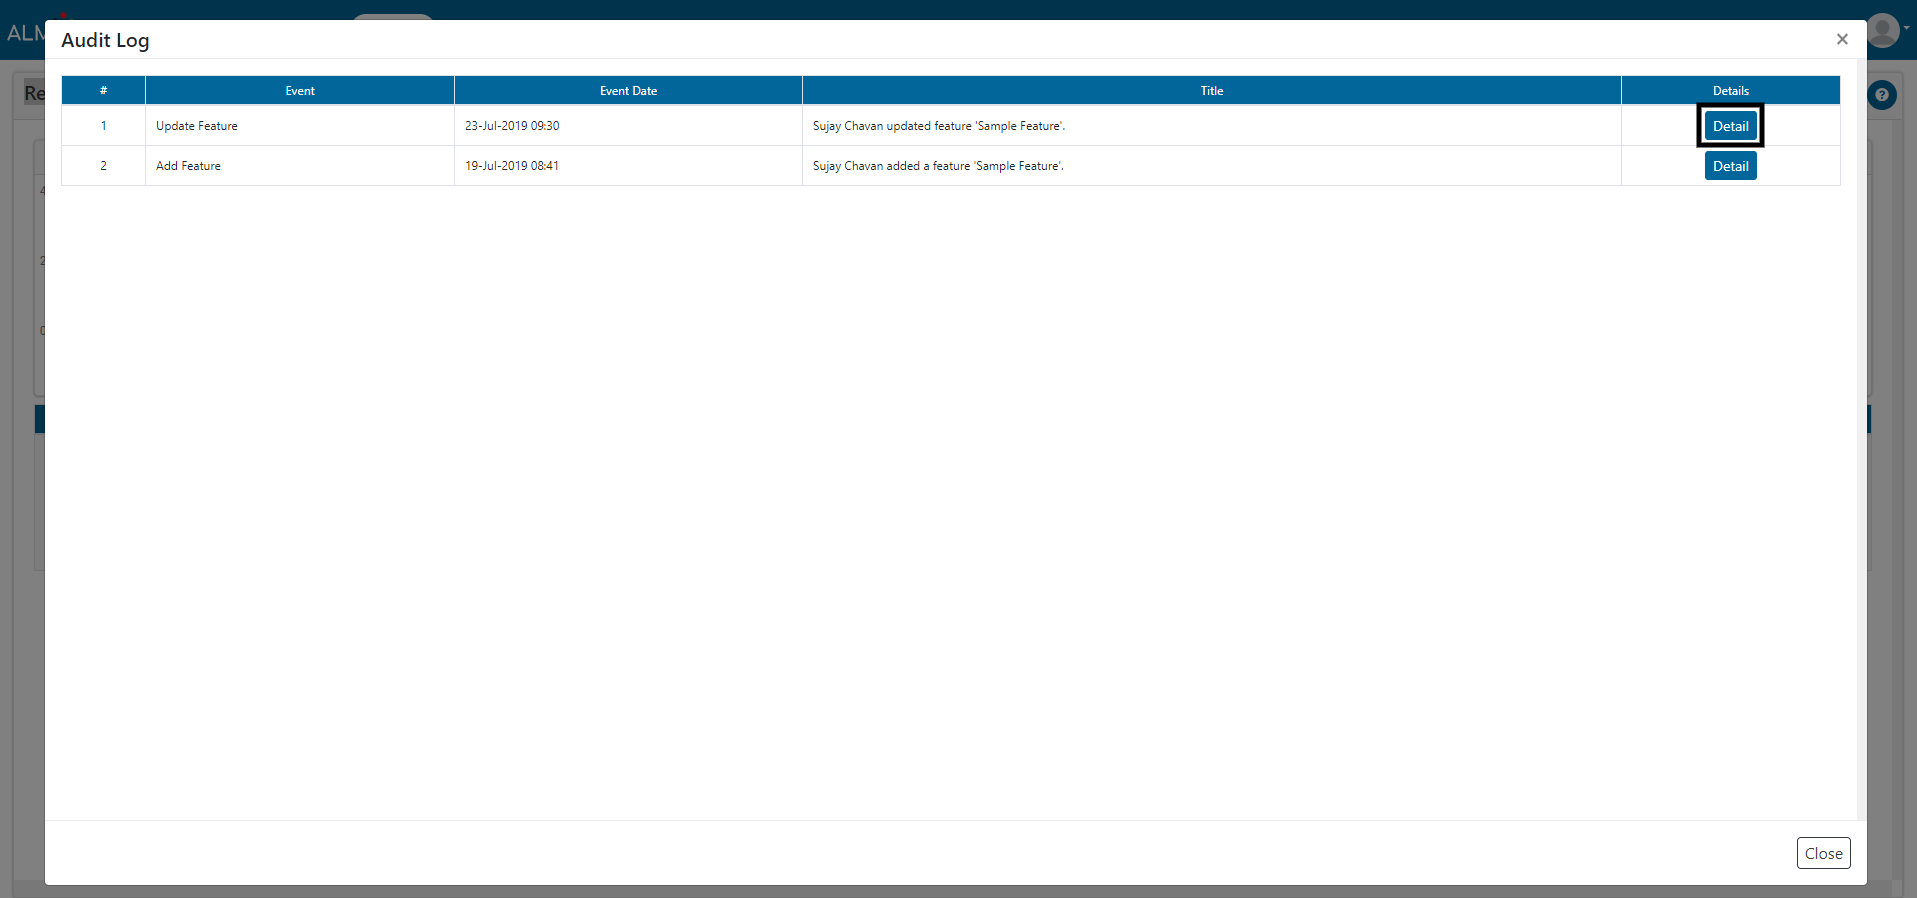
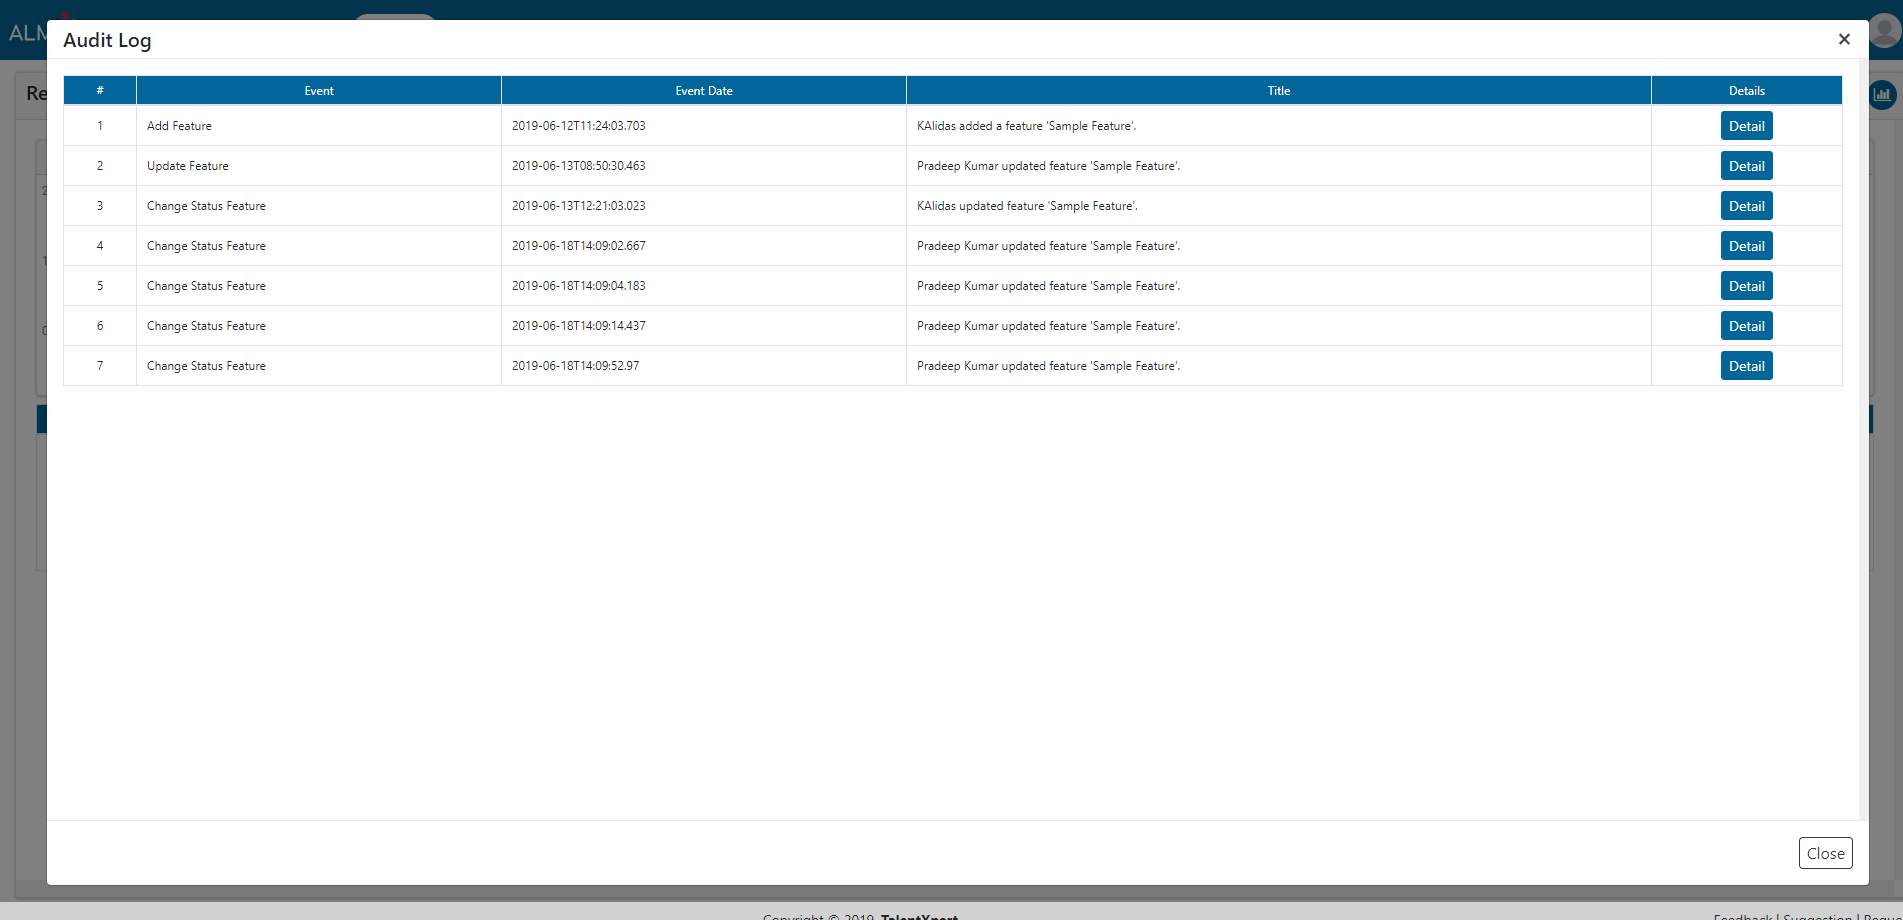
1. Click on Audit Log button to view the Audit log.
2. Click on Detail button to view the details for that particular event.
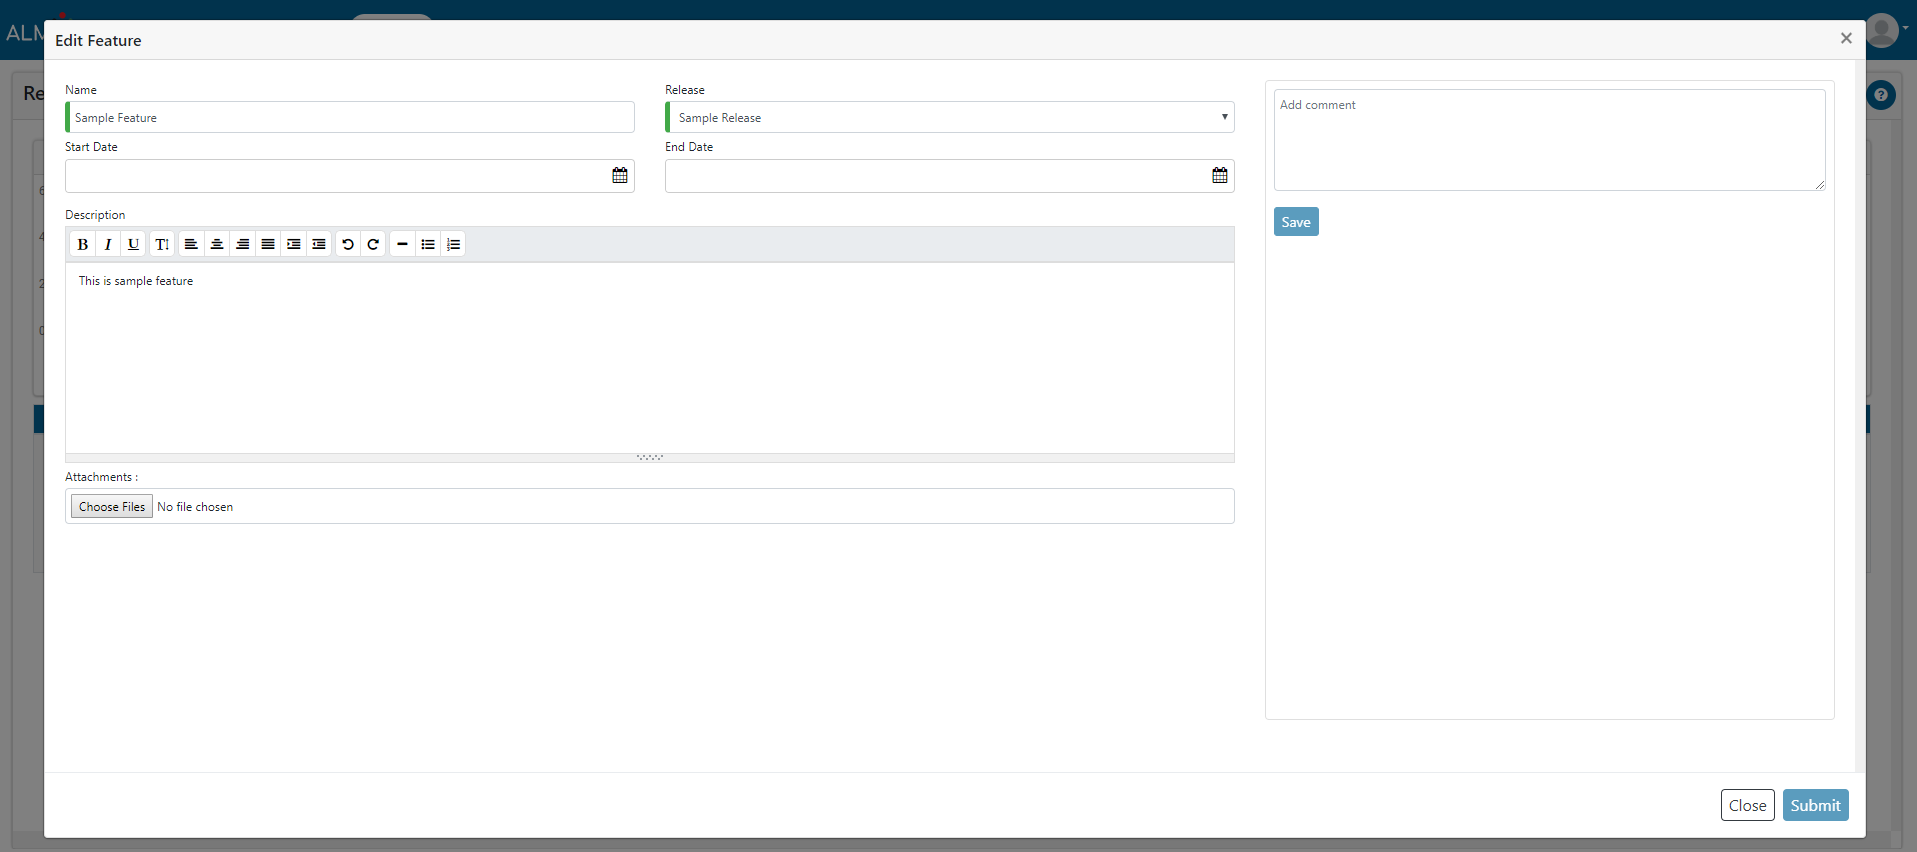
1. Click on pencil icon to edit created feature.

2. You can change the details of this feature and save the changes by clicking Submit button.
1. Click Delete Feature button to delete the selected Feature.

2. Now click on Yes button and the Feature will be deleted.
3. Feature can only be deleted when it has no user stories within it.
1. Click on Feature Checklist button to view the checklist items in Feature Check List.
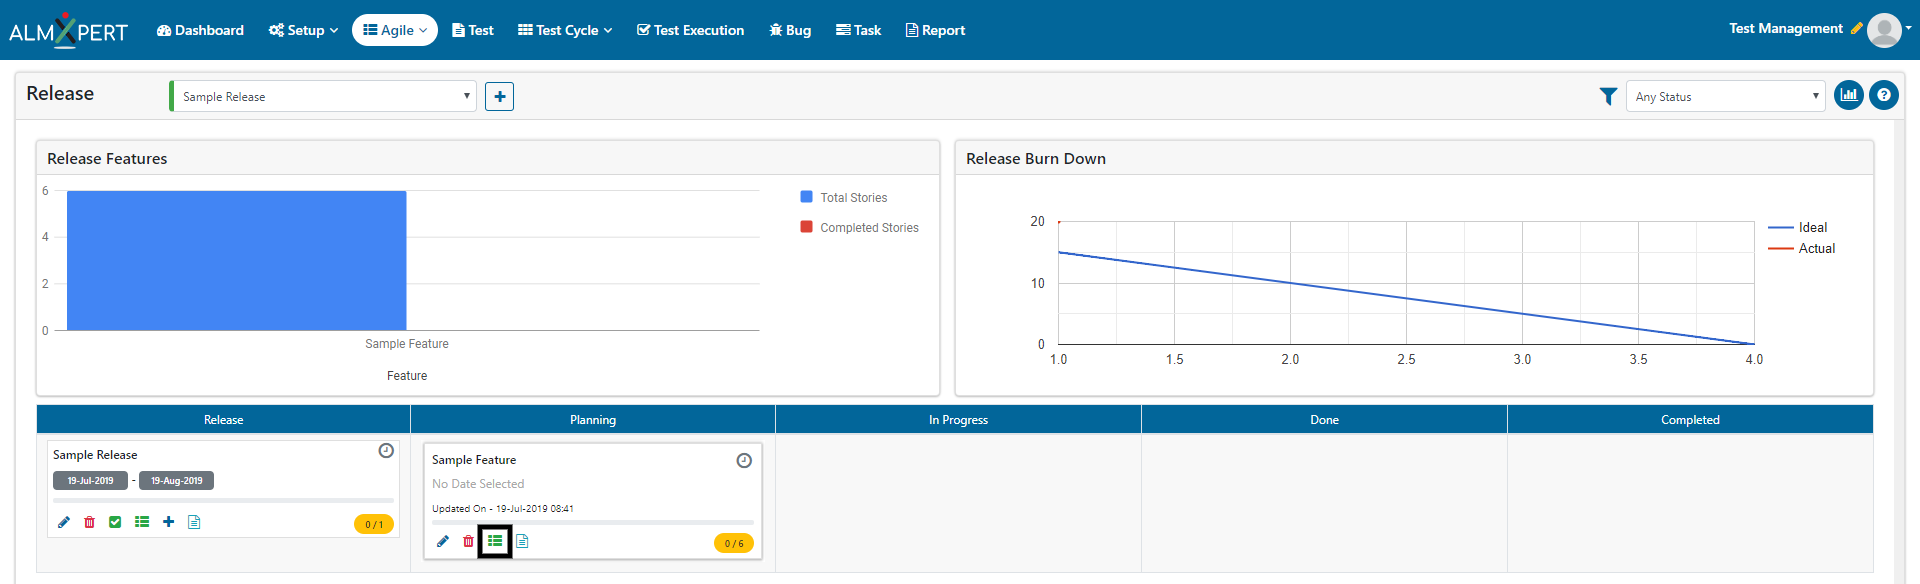
2. Select the desired items from Check List Item and click on ‘Save’ button under Action section. Click on Close button.
3. User can Skip the check list item
4. Users can add/edit/disable checklist items from Setup -> Lookup -> Feature Checklist.

1. Click on Audit Log button to view the Audit log.

2. Click on Detail button to view the details for that particular event.